|
Limestone
Gallery
Solutions
for moulders...
|
|
Home -
Concept Overview
- Moulders
Manual - Limestone
Gallery
- Moulds
plans
- Moulders Workshop
- Site
MAP
|
| A
set of solutions for the
moulders |
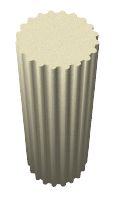 You
want to cast reconstituted limestone elements with particular shapes
but you don't know how to build the needed moulds. Here are exposed
unsorted ideas and the various possible solutions to realize various
types of moulds. You
want to cast reconstituted limestone elements with particular shapes
but you don't know how to build the needed moulds. Here are exposed
unsorted ideas and the various possible solutions to realize various
types of moulds.
|
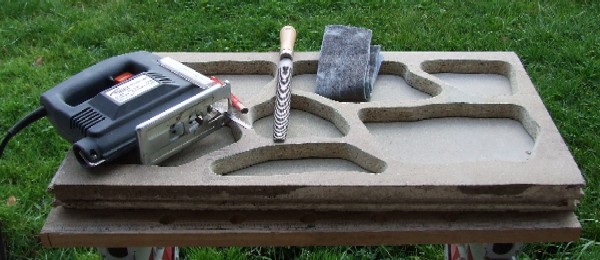
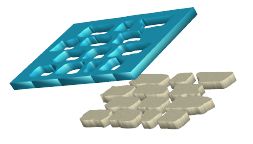
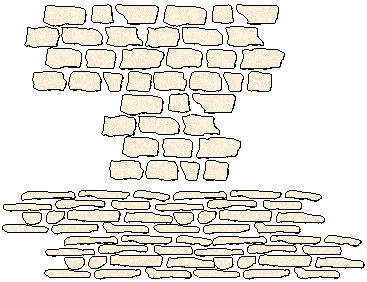 A simple solution to build the mould consists in using boards of water-resistant agglomerate CTBH. We find easily and at low cost some CTBH agglomerate boards for floor in 1850x600 mm size and 19mm or 22mm thickness, in great do-it-yourself stores. A first board of 22mm thickness will be used as a rigid basis for the mould. In a second one, forms corresponding to a typical natural stone assembly are cut out, according to a pattern which can be reproduced ad infinitum. This second board thus cut out is simply laid on the first one for the cast of the limestone mortar.
- The edges of the cut out forms must comprise a “draft” angle of about 30%. I.e. that they must be oblique to allow the release from the mould. - The draft angle must be regular and continuous on all the periphery of the forms and always directed towards the same side of the cladding stone.
- Trace a grid on the board with a paper pencil, to serve as a guide and delimitation for the stones. - Trace free hands the shapes of the stones in the grid, while keeping a minimal zone of approximately 25mm between the stones, for the solidity and the cohesion of the mould. - Bore a hole with a drill on each form to introduce a jigsaw. - Cut out each form with the jigsaw, using a relatively fine blade to authorize the “tight turns”. - If you can, incline the jigsaw of 30% for the draft, but take care not to break the blade. - Best bet, even if it is a little more tiring, is to carry out the draft angle after cutting, using a wood grater. - When the drafts are finished, sandpaper the whole. 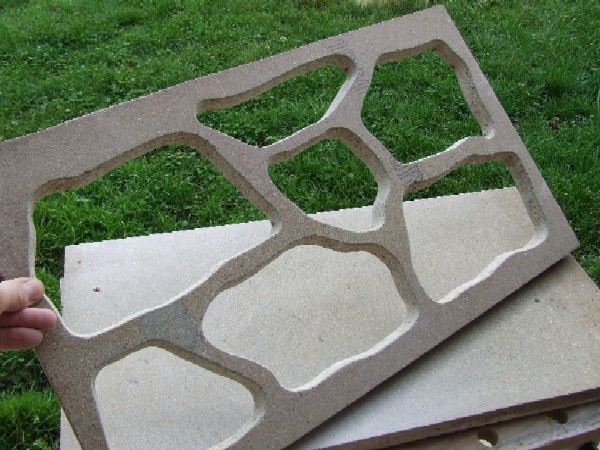  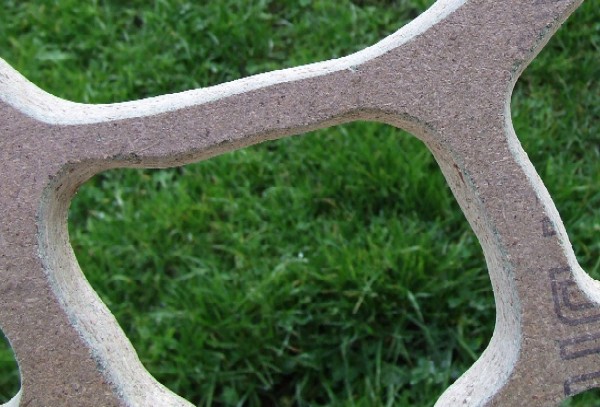 The final aspect of the mould, with draft detailed, for the release. Clic on the drawing above to see it in large view.
After an adequate curing time (cf the moulder's guide) scrape the stone in excess. For the release from the mould, unstuck the mould board from the base and hit slightly the mould, between the stones, to unstuck the edges, stone by stone, with a small hammer. 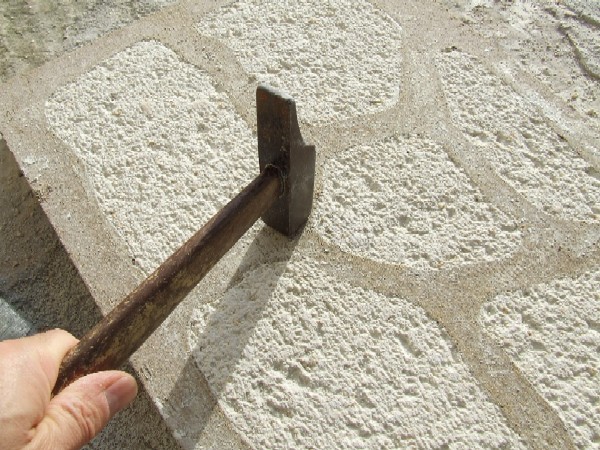 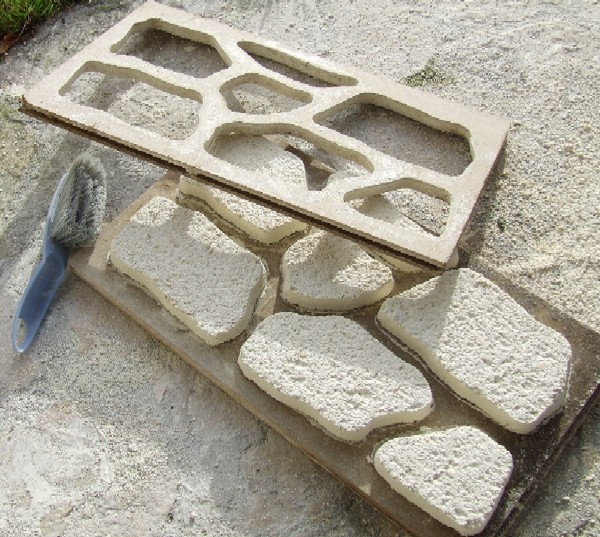 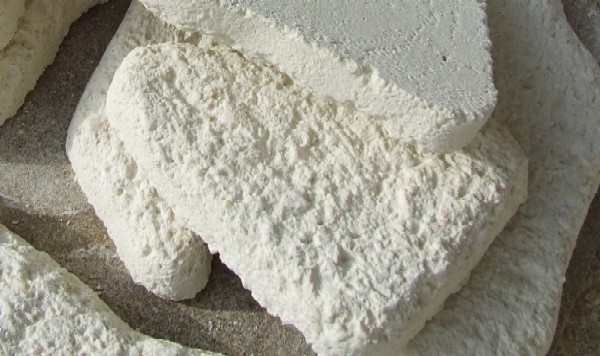 The release from the mould and the rough limestone finishing aspect. Its also possible to obtain a much smoother finishing aspect by sandpapering.
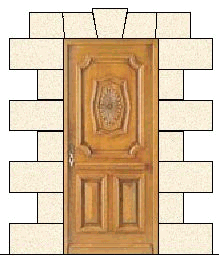
- A surrounding of reconstituted cut stone, for door in rabbet or bracket.    |
|
|
|
|
|
|
- By
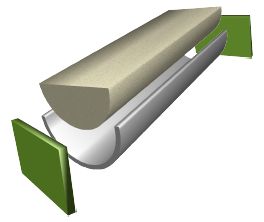
using a piece of PVC pipe for for sewerage of diameter 100mm or 125mm,
cut into two halves in the length direction and closed to the two ends
by plates of water-resistant agglomerate.
- By using in the same manner a metal chimney pipe cut into two halves. See the solution of Eric. - PVC tubes up to 600mm in diameter can be used to make large diameter columns. Such tubes can be found for instance in the ranges Sotralys or Sotrabat at SOTRA SEPEREF  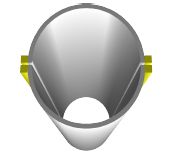 http://www.sotra-seperef.com/
http://www.sotra-seperef.com/ The PVC tube is cut in half lengthwise.
Four wooden strips are screwed across the PVC to enable the assembly of
the two elements of the mold. Place
the pipe in vertical position and
make a wooden frame around it to counter the concrete pressure during pouring.
|
|
|
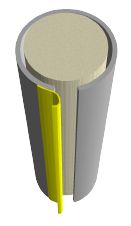 Cut the pipe in the length
direction. Close it using adhesive tape. Then
you can fill in the pipe by the top with the limestone concrete.
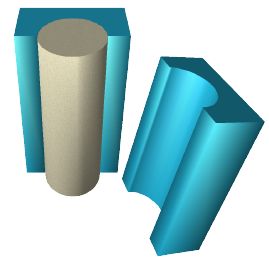
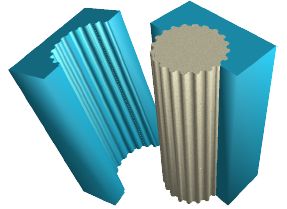
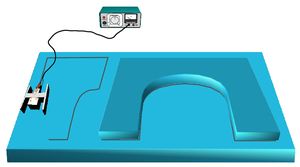
For the realization of the pedestal and the capital of the column, you can use styrofoam plates where forms are cut using a hot-wire saw. See the pdf documents in the site for the styrofoam molding technique. |
|
|
|
You can make styrofoam molds, using the
cardboard jigs method.. More about
this method...
   |
|
|
| Home - Concept
Overview - Moulders Manual
- Limestone
Gallery - Moulds
plans
- Moulders Workshop
- Partners - FAQ - Inpiration links - Site MAP - |




 How
to make pilasters elements for interior decoration, or
large diameter columns ?
 Back
to the Limestone Gallery...